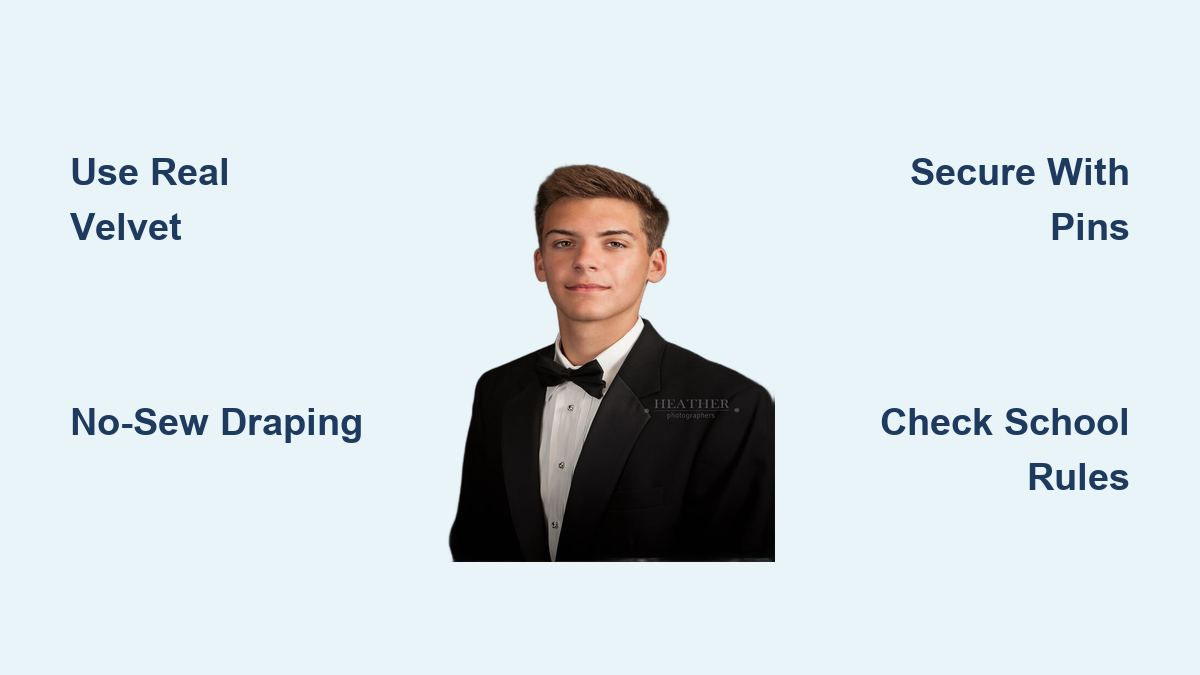
Creating a senior drape for graduation photos does not have to be complicated or expensive. A senior drape is a formal, elegant piece of velvet fabric draped over the shoulders during portrait sessions to create that classic, timeless look seen in yearbooks. Whether you are a parent wanting to save money, a photographer seeking customization options, or a DIY enthusiast, this guide covers everything from fabric selection to professional styling so you can create studio-quality senior portraits at home.
Choosing the Best Fabric for Senior Drapes
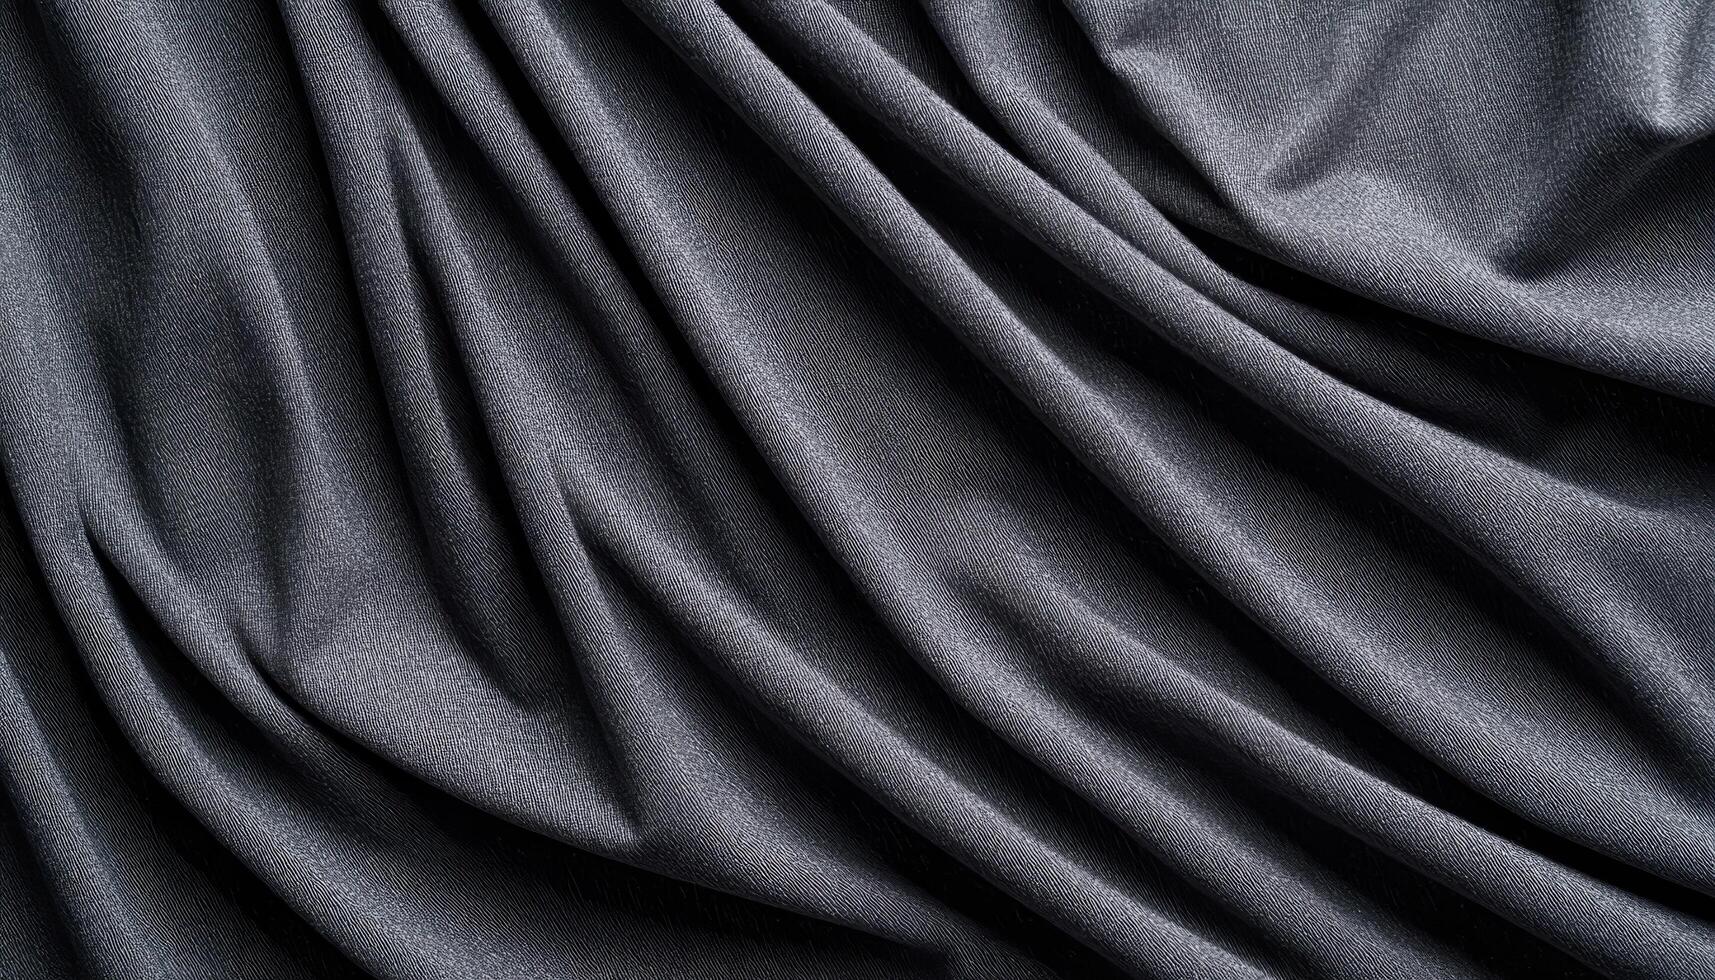
The fabric you select directly impacts how professional your final photos will look. Velvet remains the top choice among professional photographers because of its rich texture and light-catching properties.
Why Velvet Outperforms Other Fabrics
Real velvet creates beautiful soft shadows and adds depth to portraits when studio lights hit it correctly. The fabric’s natural pile reflects light in a way that enhances the drape’s folds and adds dimension to the subject’s appearance. Synthetic or polyester “velvet-look” fabrics often reflect light too harshly, creating unwanted hotspots that distract from the student’s face. Invest in medium-weight cotton-backed velvet for the best balance of structure and flow.
Selecting the Correct Color
Black remains the standard color for most schools, but some institutions require specific colors based on their branding or school spirit. Navy, maroon, and royal blue are common alternatives. Always verify your school’s photography guidelines before purchasing fabric. If you plan to photograph multiple students, consider making drapes in several colors to offer flexibility.
Cutting Your Senior Drape Without a Pattern
Commercial patterns for senior drapes are rare and often overpriced. The good news is you do not need one. Two simple shapes work perfectly for this project.
Semi-Circular Cutting Method
This method creates a symmetrical drape that falls naturally over both shoulders. Fold your velvet in half, then measure a 30-inch radius from the folded edge. Draw a half-circle and cut along the line. When you unfold the fabric, you will have a full circle. Cut along the center crease to create a U-shape that sits elegantly on the shoulders.
Rectangle Cutting Method
Measure and cut a piece of fabric approximately 60 inches wide by 45 inches long. This size accommodates most adults and provides enough material to drape over both shoulders and fall down the back. Taller students over 5’8″ may need up to 50 inches in length, while broad-shouldered individuals benefit from widths up to 65 inches.
The No-Sew Draping Technique
For one-time use or quick setup, the no-sew method delivers excellent results without any stitching.
Step-by-Step Draping Process
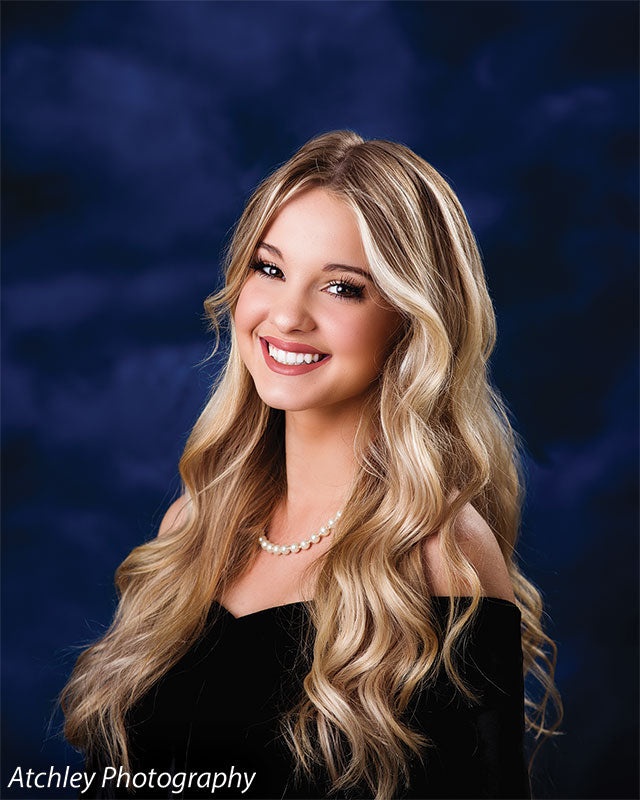
Place the cut velvet piece over the subject’s shoulders like a shawl. Let excess fabric fall naturally down the back and sides. Bring the two front corners slightly across the chest and meet them at the upper back, just below the neck. Secure with two discreet safety pins or fashion pins. Ensure the pins are tight enough to prevent slipping but not so tight they pull the fabric or pinch the skin.
Ensuring Proper Shoulder Visibility
Many schools require both shoulders to remain visible in the final image. Position the drape so it frames the neck and collarbone without covering too much of the chest. The goal is elegant framing, not concealment.
Building a Reusable Sewn Drape
For photographers or families planning multiple sessions, a sewn bodice offers consistency and durability.
Adapting a Dress Pattern
Select a basic dress pattern labeled “fitted bodice” or “princess seam.” Cut only the front and side pieces, skipping the back entirely. Sew the front sections together, including shoulder seams. Leave the entire back open. This creates a structured front that holds the drape in place while allowing universal fit.
Adding Closure Options
Attach 1-inch-wide satin ribbons, 18 inches long, to each side seam at the underarm. Tie them loosely at the back during use for adjustability. Alternatively, sew in snap tape or hook-and-eye closures for quick changes between models.
Styling for Professional-Looking Photos
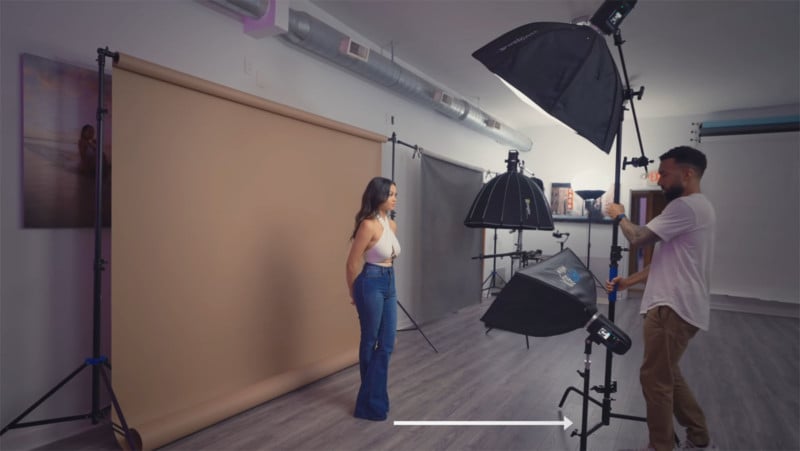
Lighting makes or breaks senior portrait photography. Velvet responds beautifully to proper studio lighting when done correctly.
Recommended Lighting Setup
Use a two-light studio setup for best results. Position your key light at 45 degrees to the subject’s face. Place a fill light or reflector on the opposite side to soften shadows. An optional backlight adds shine to hair and separates the subject from the background. This setup highlights the drape’s texture while bringing out sparkle in the eyes.
What to Wear Under the Drape
Students should wear a solid-colored dress shirt or blouse underneath, typically white or black. Avoid patterns, logos, or busy fabrics. Collared shirts create clean lines under the drape. Female students can wear strapless tops if the drape sits higher on the shoulders.
Avoiding Common Mistakes
Several frequent errors can undermine your efforts. Learn what to avoid before starting.
What Not to Use
Do not use actual graduation gowns, robes, or store-bought ponchos as senior drapes. These closed garments often have sleeves, hoods, or fixed necklines that limit posing and create bulk. The open-back drape design allows freedom of movement and a more flattering silhouette.
Preventing Fabric Damage
Velvet crushes easily. Store your drape flat or loosely hung on a padded hanger. Never fold it tightly. To remove wrinkles, steam from a distance rather than pressing with a hot iron, which flattens the pile and leaves shine marks.
Following School Portrait Guidelines
Each school has specific requirements for senior formal photography. Failing to follow these can mean a wasted session.
Common School Requirements
Most schools require the face centered in the frame, both shoulders visible, head and shoulders only cropping, and a neutral background in gray, white, or black. Contact your school’s yearbook coordinator before the shoot to confirm all requirements.
Coordinating Background and Attire
Match your drape color to the background for proper contrast. A black drape on a black background causes the subject to blend into the background. Use a gray or white backdrop for contrast instead.
Maintaining Your Senior Drape
Proper care extends the life of your drape significantly.
Cleaning and Storage Tips
After each use, shake out dust and lint. Hang or lay flat in a cool, dry place. Use a garment bag to protect from light and moisture. For deep cleaning, spot clean only. Most velvet cannot be machine washed. Test any cleaner on a hidden edge first.
Having Multiple Drapes Available
Photographers should keep two to three drapes in different colors and sizes. This allows quick changes and accommodates various student preferences. Label each drape by color and fit for easy access.
Cost Comparison: DIY vs Retail
Making a senior drape yourself saves substantial money compared to buying pre-made options.
Breaking Down the Expenses
Pre-made senior drapes sold online cost $80 to $150 each, often without customization options. By contrast, a yard of quality velvet costs $15 to $30, and basic pins or ribbon are under $5. The no-sew method costs less than $25 total. Even if you sew a reusable bodice, materials rarely exceed $40. This represents savings of up to 90% compared to retail prices.
Frequently Asked Questions About Senior Drapes
What is the best fabric for a senior drape?
Real velvet provides the best results because of its rich texture and light-catching properties. Cotton-backed velvet offers the ideal balance of structure and flow for professional-looking portraits.
Do I need a pattern to make a senior drape?
No commercial pattern is required. You can cut a simple rectangle or semi-circle from fabric and use the no-sew draping method with pins. This approach is faster and more affordable than following complex pattern instructions.
How do I secure the drape so it does not slip?
Use two discreet safety pins or fashion pins at the upper back where the front corners meet. Ensure pins are tight enough to hold the fabric in place but not so tight that they damage the material or cause discomfort.
Can I use a graduation gown instead of a senior drape?
No, graduation gowns are not suitable substitutes. They have fixed sleeves, hoods, and necklines that limit posing options. Senior drapes are open-back designs that allow for more flattering angles and greater freedom of movement.
How much does it cost to make a senior drape DIY?
The no-sew method costs under $25 for fabric and basic supplies. A sewn reusable version costs approximately $40 for materials. This is significantly less than retail prices of $80 to $150.
How do I remove wrinkles from velvet?
Hang the drape in a steamy bathroom or use a garment steamer held several inches away from the fabric. Never press velvet with a flat iron, as this flattens the pile and creates permanent shine marks.
Key Takeaways for Creating Your Own Senior Drape
Making a senior drape is straightforward when you use the right materials and techniques. Real velvet fabric provides the professional look that distinguishes quality senior portraits from amateur attempts. Choose between the quick no-sew method for one-time use or invest in a sewn bodice for repeated sessions. Always verify your school’s specific requirements for pose, background, and attire before the photo session. With proper care, your DIY drape produces stunning, timeless portraits that your senior will treasure for years while saving significant money compared to retail options.