Every year, 1 in 4 adults over 65 suffers a fall, with many occurring indoors on slippery hardwood or tile floors. Standard socks increase this risk with smooth, sliding soles. But there is a simple solution: non-slip socks made at home. With basic materials and these six proven methods, you can create fall-preventive footwear that boosts stability and confidence for elderly loved ones.
This guide covers exactly where to place grip zones, which materials work best, how to maintain your creations, and what to avoid for sensitive skin. Whether you are a caregiver, family member, or crafter, these techniques empower you to make socks that are custom-fitted, washable, and designed for real-world safety.
Choose the Right Sock Base for Grip Projects
Before adding grip to socks, selecting the proper foundation ensures comfort, fit, and durability.
Ideal Sock Features
Look for these characteristics when sourcing socks to modify:
• Material: Cotton, wool, or cotton-blend for breathability and shape retention
• Fit: Snug but not tight, should stay up without restricting circulation
• Height: Ankle or crew length for easier modification
• Seams: Seamless toe closure preferred, especially for diabetic users
• Thickness: Medium to thick for cushioning without bulk
Pro Tip: Avoid thin dress socks or 100% polyester, as they stretch too much and degrade grip adhesion.
Special Needs Considerations
Different health conditions require specific sock features:
• Diabetes or neuropathy: Use seamless, moisture-wicking socks to prevent sores
• Arthritis: Pick slip-on styles with wide cuffs for easy donning
• Cold sensitivity: Choose wool or fleece-lined socks for warmth
Replace any sock with holes, thinning fabric, or loose elastic, as these compromise both safety and grip performance.
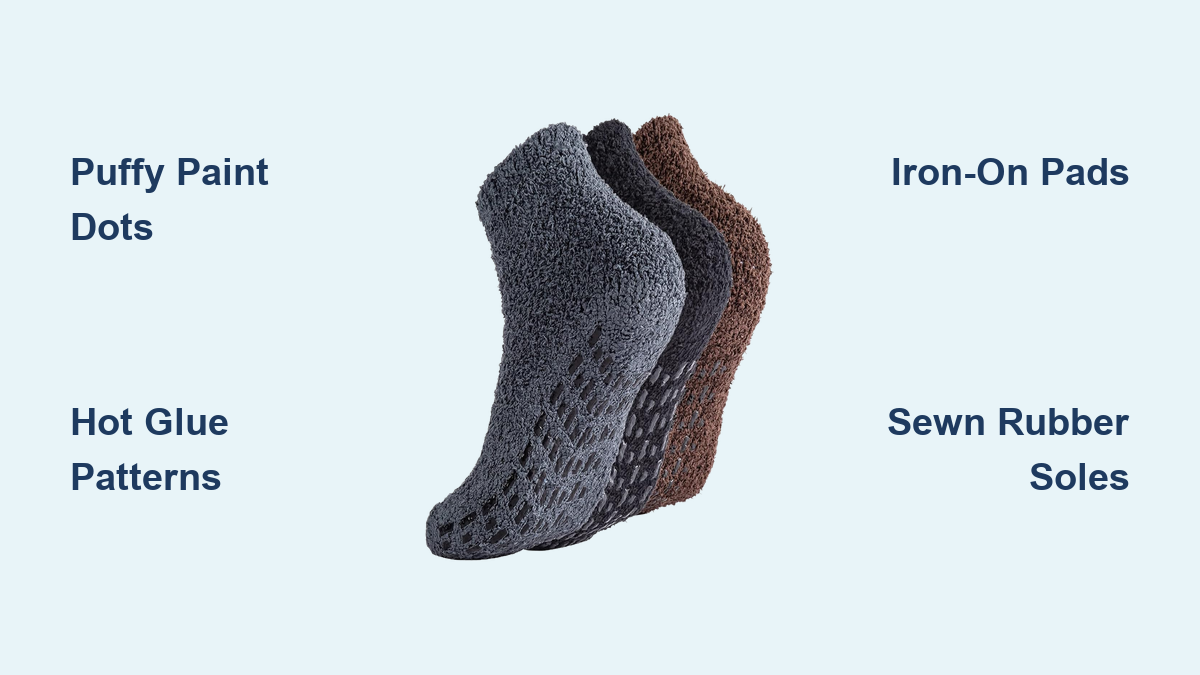
Puffy Paint Grip Method for Beginners

Create soft, flexible traction using dimensional fabric paint, ideal for caregivers and those new to DIY projects.
Apply Puff Paint Dots in Key Zones
- Turn sock inside out and insert cardboard cut to foot shape
- Mark traction areas: heel, ball of foot, and toe pad
- Squeeze small dots (3 to 5 mm) using Tulip Puff Paint or similar
- Space dots 1 to 2 cm apart, covering 60 to 70% of sole
- Dry flat for 24 to 72 hours for full cure and wash resistance
- Flip right side out and wait 24 hours before use
Design Ideas: Use swirls, zigzags, or grids to make function meet fun.
Wash and Care Instructions
• Wait 72 hours before first wash
• Machine wash cold, gentle cycle only
• Air dry exclusively, never use a dryer
• Expected lifespan: 5 to 10 washes (3 to 6 months with care)
This method provides non-toxic, soft texture great for sensitive skin, though it is not suitable for hot water or bleach exposure.
Hot Glue Gun Traction Method
Boost slip resistance with raised glue patterns, offering fast and affordable results with some caution required.
Create Raised Patterns Safely
- Use a low-temperature glue gun to prevent burns and fabric melting
- Turn sock inside out and lay flat or use a foot form
- Apply glue in dots, zigzags, or crosshatch patterns on heel and ball
- Cool completely (10 to 15 minutes) before flipping
- Trim any stringy threads with scissors
Warning: Never use high-temperature glue, as it can melt fabric or cause burns.
Performance and Longevity
• Grip level: High, firm texture enhances floor contact
• Durability: Withstands 10 to 15 hand washes
• Lifespan: 1 to 2 months with daily use
This method provides immediate, low-cost results but is not machine-washable and may feel stiff underfoot. Avoid for users with neuropathy or foot sores.
Iron-On Silicone Pads for Long-Lasting Grip

Achieve commercial-grade grip with self-adhesive silicone dots or strips, perfect for long-term wear.
Apply with Heat and Pressure
- Cut pads to fit heel and ball of foot (0.5 to 1 inch diameter)
- Position on sole, avoiding seams
- Cover with thin cotton cloth as a pressing barrier
- Iron on medium heat (cotton setting) for 15 to 20 seconds
- Press firmly without sliding the iron
- Cool completely before use
Pro Tip: Use a pressing cloth to prevent scorching the fabric.
Wash and Wear Lifespan
• Machine washable (cold or warm, no dryer)
• Lasts 20 plus washes (6 plus months)
• Maintains flexibility and quiet step
This is the top choice for long-term use, hand-knit slippers, and high-traffic homes, though it requires purchasing specialty pads from Amazon or Etsy.
Sewn-On Rubber or Felt Soles
Ideal for handmade socks and slippers, combining strength, traction, and longevity.
Stitch Durable Soles Step-by-Step
- Trace foot or sole shape onto felt, suede, or recycled rubber
- Cut with 1 to 2 mm seam allowance
- Baste or glue in place temporarily
- Whip stitch or blanket stitch around edges
- Reinforce heel and ball with extra stitches
Long-Term Benefits
• Grip level: Very high (up to 0.58 coefficient of friction)
• Lifespan: 6 to 12 plus months
• Care: Spot clean or hand wash only
Expert Tip: Use waxed thread for tangle-free, durable stitching.
This method works best for crocheted or knitted slippers and outdoor entry use, though it requires intermediate sewing skills.
Textured Yarn Integration for Knit Socks
Build grip directly into the sock during crafting, eliminating post-modification needs.
Use High-Friction Stitches and Yarns
• Yarn types: Double-brushed acrylic, silicone-blend, or looped textures
• Stitches that grip: Single crochet (tight, firm base), crab stitch (reverse single crochet for back-grip), intarsia pattern with grippy yarn in high-wear zones
Design Advantages
• Seamless traction with no added bulk
• Fully washable if yarn permits
• Customizable density and placement
This method is ideal for artisan slippers and gift-making, though it requires advanced knitting or crocheting skills.
Where to Place Grip Zones for Maximum Safety
Where you apply traction matters as much as how you apply it.
Target High-Impact Zones
• Heel: Absorbs initial impact, use dense dots or pads
• Ball of foot: Push-off zone, primary focus for grip
• Arch: Light patterning only, avoid rigidity
• Toes: Minimal grip for balance during final stride
Recommended Patterns
| Pattern | Best For |
|---|---|
| Dot Grid | Even traction, easy to apply |
| Zigzag Lines | Multidirectional grip |
| Herringbone | Dynamic movement stability |
| Crosshatch | Lateral slip prevention |
Hybrid Hack: Use hot glue on heel and puffy paint on midfoot to balance durability and comfort.
Washing and Maintenance by Method
Protect your work with proper care to maximize lifespan.
Universal Rules
• Wash cold, gentle cycle or hand wash
• Never use bleach or fabric softener
• Air dry only, heat destroys adhesives
• Inspect after each wash for peeling, flattening, or cracks
Method-Specific Care Guide
| Method | Washing | Lifespan |
|---|---|---|
| Puffy Paint | Machine wash cold | 5 to 10 washes |
| Hot Glue | Hand wash only | 10 to 15 wears |
| Salt plus Paint | Hand wash | 3 to 6 washes |
| Iron-On Pads | Machine wash, no dryer | 20 plus washes |
| Sewn Soles | Spot clean | 6 to 12 plus months |
| Textured Knit | Follow yarn label | Varies |
Replace socks when grip shows visible wear, including cracked paint, peeling pads, or smooth glue.
Safety Tips for Elderly with Medical Conditions
Customize your approach for specific health needs to prevent injury.
For Diabetes or Neuropathy
• Avoid salt, glue, or rigid textures that risk pressure sores
• Use puffy paint or knitted loops (soft and flexible)
• Choose seamless, moisture-wicking socks
• Inspect feet daily for redness or irritation
For Arthritis
• Use easy-application methods (puff paint over glue guns)
• Add loop pull tabs at heel for easier donning
• Choose lightweight, stretchy socks
For Balance Issues
• Focus grip on heel and forefoot
• Pair with walker or gait belt if needed
• Use high-contrast colors to improve visibility
Never apply grip inside the sock, as this can cause sores or discomfort.
Test Your DIY Non-Slip Socks at Home
Verify performance before daily use with these simple tests.
Simple Home Tests
15-Degree Incline Test: Prop smooth floor (linoleum or wood) with books. Walk slowly, no slip should occur at 15 degrees. Target coefficient of friction: 0.4 plus.
Wet Floor Check: Lightly mist surface with water. Test controlled steps, DIY socks are not waterproof.
Gait Observation: Watch for shuffling, toe-gripping, or instability. Adjust grip pattern if needed.
DIY Grip Performance: Puffy paint achieves approximately 0.48 COF, iron-on pads reach 0.5 plus COF, sewn rubber provides up to 0.58 COF.
DIY vs Commercial Non-Slip Socks: What Is Best
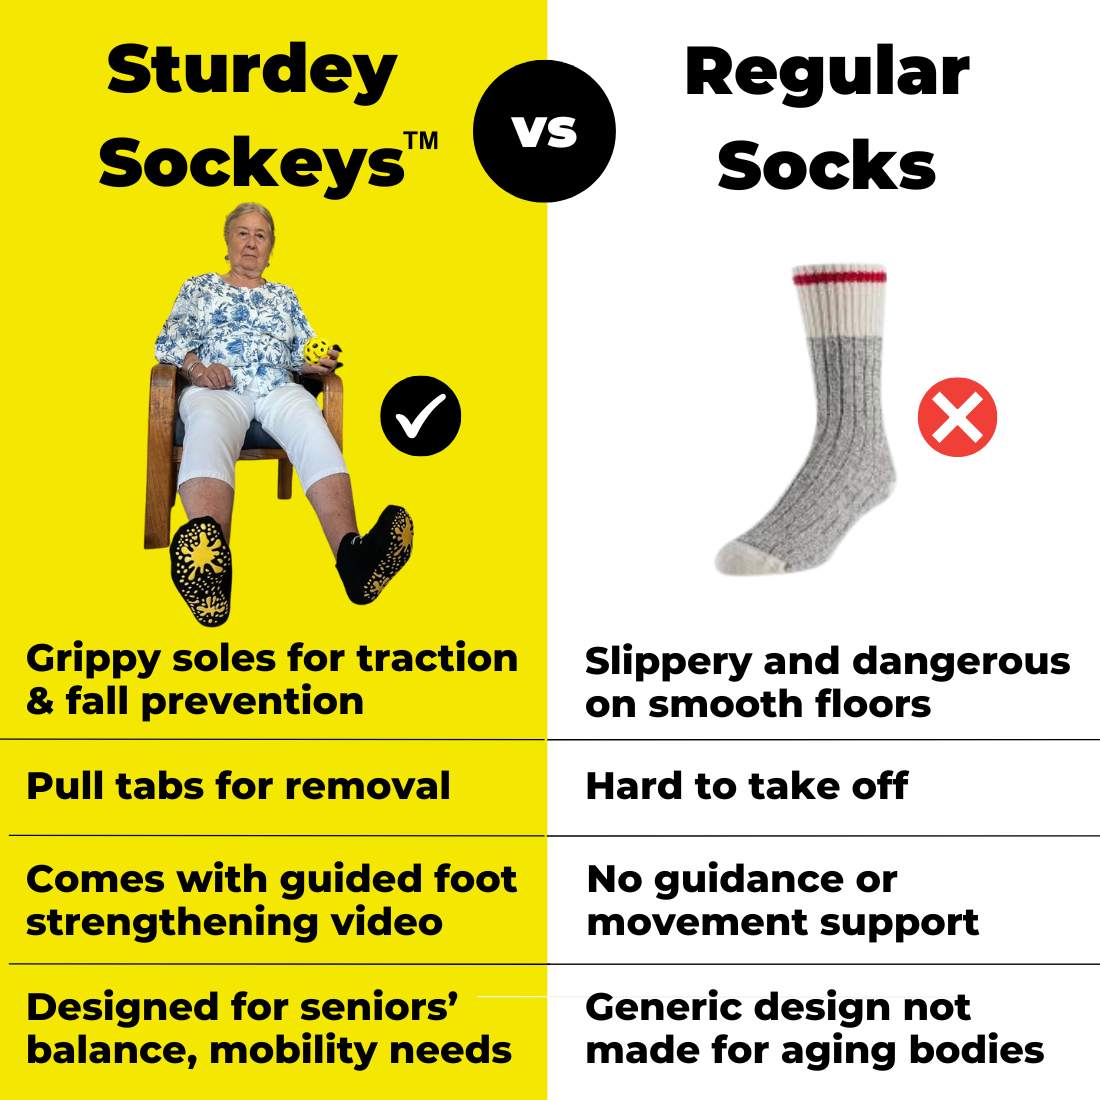
Compare key features to decide which option suits your situation.
| Feature | DIY Socks | Commercial Gripper Socks |
|---|---|---|
| Cost | $0.30 to $2.00 per pair | $8 to $25 |
| Custom Fit | Yes, any size or design | Limited standard sizes |
| Durability | 3 to 20 plus washes | 30 plus washes |
| Comfort | Varies by method | Engineered for all-day wear |
| Medical Safety | Not certified | Some FDA-registered |
When to Choose Commercial
For high-risk users, frequent washing needs, or medical compliance requirements, consider brands like SAYLENG (FDA-registered, silicone dots), Pro-Tech (full rubber sole, COF 0.5 plus), or Kind Wraps (compression plus grip, diabetic-safe).
DIY is perfect for emergencies, gifts, or personalized care, but combine with clinical products when needed for high-risk individuals.
Frequently Asked Questions About Making Non-Slip Socks for Elderly
What is the easiest method for beginners?
The puffy paint method is the easiest for beginners. It requires only dimensional fabric paint, takes about 30 minutes to apply, and provides good grip with minimal skill. Allow 24 to 72 hours for proper curing before use.
How long do DIY non-slip socks last?
Lifespan varies by method. Puffy paint socks last 3 to 6 months with 5 to 10 washes. Iron-on silicone pads last 6 plus months through 20 plus washes. Hot glue lasts 1 to 2 months with hand washing only.
Can I use these socks on wet floors?
DIY non-slip socks are not waterproof. They work well on dry surfaces but become slippery on wet floors. Always use bath mats or shower shoes in wet areas like bathrooms.
Are these safe for diabetic elderly?
Some methods are safer than others for diabetic users. Choose puffy paint or textured knitting, which provide soft, flexible grip. Avoid salt texture, hot glue, or rigid materials that can cause pressure sores.
What is the most durable DIY method?
Iron-on silicone pads and sewn-on rubber soles provide the most durability. Both methods survive 20 plus machine washes and last 6 to 12 months with proper care.
How much do DIY non-slip socks cost to make?
DIY non-slip socks cost between $0.30 and $2.00 per pair, depending on materials used. Puffy paint and hot glue are the cheapest options, while iron-on pads require purchasing specialty materials.
Key Takeaways for Making Effective Non-Slip Socks
Making non-slip socks for the elderly is a small act with significant impact. By following these tested methods and safety tips, you can create personalized, effective, and lovingly crafted socks that help older adults walk with confidence.
Best Method by Goal
| Goal | Recommended Method |
|---|---|
| Easiest for beginners | Puffy paint dots |
| Longest-lasting | Iron-on silicone pads or sewn soles |
| Softest for sensitive feet | Puffy paint or textured knitting |
| Best for handmade slippers | Sewn-on soles or iron-on dots |
| Most cost-effective | Hot glue with caution |
Essential Takeaways
• Always use snug, seamless socks as your base
• Focus grip on heel and ball of foot for maximum safety
• Air dry only, never tumble dry adhesives
• Inspect regularly for wear and replace when grip degrades
• Combine DIY methods with commercial products for high-risk users
By investing a little time and creativity, you can reduce fall risk, support independence, and show genuine care for the elderly people in your life.