
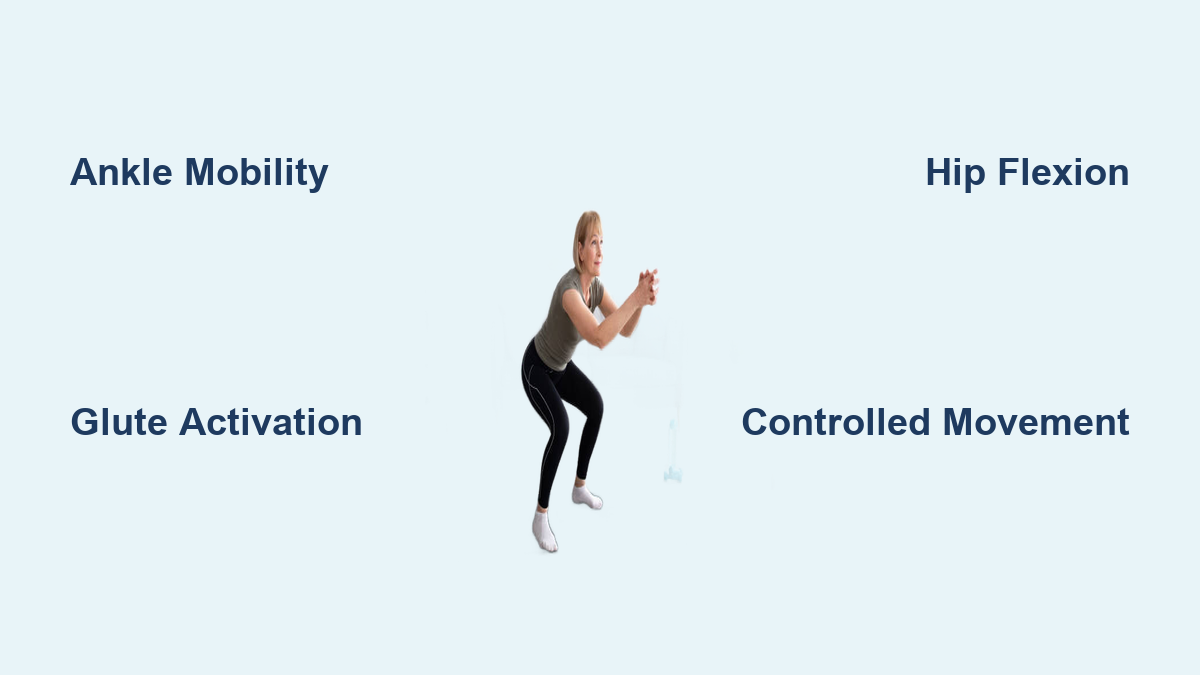
If you’re a senior looking to stay strong, mobile, and independent, learning how to do a squat the right way is one of the most powerful steps you can take. The squat is not just an exercise. Every time you rise from a chair, climb stairs, or pick something up off the floor, you’re performing a version of a squat. For seniors aged 50 and above, mastering this movement safely builds leg strength, improves balance, and reduces fall risk, all essential for maintaining autonomy as you age.
This guide breaks down exactly how to do a squat for seniors, from foundational preparation to step-by-step execution, modifications, and long-term strategies. Whether you’re starting from zero or looking to progress safely, you’ll find clear, science-backed methods to build strength without strain.
Why Seniors Need to Squat
Squats are not just for athletes. For older adults, they’re a functional necessity. Research shows that leg strength directly correlates with longevity, mobility, and independence. A study in Circulation found that seniors aged 70–79 with stronger lower bodies had significantly lower mortality rates over six years. Strong legs mean fewer falls, easier movement, and less reliance on others.
Beyond survival, squats enhance daily life. They make it easier to stand up from the toilet, get in and out of a car, carry groceries, play with grandchildren, and climb stairs without holding the railing. Squats strengthen the major muscles you need to stay strong and also protect your knees and hips.
The key is not depth. It is movement quality. A shallow, controlled squat done safely delivers more benefit than a deep, painful one performed incorrectly.
Fix Mobility First: 3 Key Prep Steps for Seniors
Before attempting a full squat, address three common mobility limitations that cause pain and instability.
Improve Ankle Dorsiflexion
Limited ankle mobility causes heels to lift during a squat, shifting weight forward and stressing the knees.
Test your mobility by standing with feet shoulder-width apart and trying to squat slightly. If your heels come off the floor, you lack dorsiflexion.
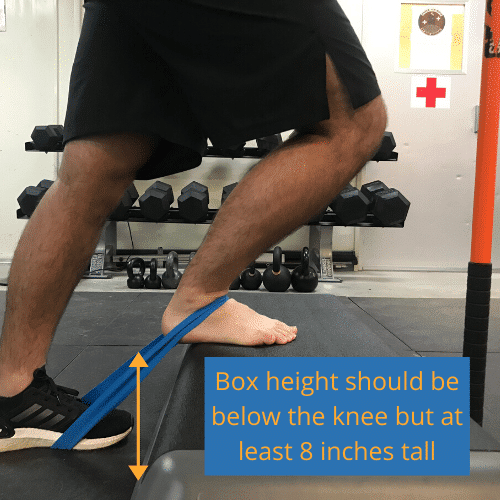
Fix it with band ankle mobilization:
- Anchor a resistance band at floor level
- Loop it around one ankle, just above the joint
- Step forward slightly with the other leg
- Bend the banded knee forward over the toes while keeping the heel down
- Perform 30 seconds per side, 2–3 sets before squatting
This helps restore natural ankle range, allowing you to keep your heels planted and maintain balance.
Activate Your Glutes
Weak glutes lead to knee collapse, increasing injury risk and reducing power.
Fix it with banded side steps:
- Place a resistance band around both ankles
- Stand facing a wall, using it lightly for balance
- Shift weight to one leg and move the other leg out to the side and slightly back, leading with the heel
- Do 10–15 quick reps per side
- Focus on feeling the outer hip and buttock engage
This wakes up underactive glutes, improving knee alignment during the squat.
Restore Hip Flexion
Tight hips cause lower back rounding, a dangerous compensation under load.
Fix it with banded hip flexion:
- Anchor a band at groin height
- Loop it around the front of one thigh near the hip crease
- Stand upright, feet shoulder-width apart
- Slowly lean forward, bringing your chest toward your knee while keeping your spine straight
- Hold 1–2 seconds, return, repeat for 30 seconds per side, 2–3 sets
This improves hip mobility, allowing deeper, safer squatting without back strain.
Step-by-Step: How to Perform a Safe Senior Squat
Master these four phases to build strength and confidence.
Set Up Correctly
- Stand with feet shoulder-width apart, toes slightly turned out (5–15 degrees)
- Engage your core (gently pull belly button toward spine)
- Keep chest lifted, shoulders back, gaze forward
- Use light hand support on a chair, wall, or counter if needed
- Wear grippy shoes (never socks or bare feet)
Practice standing tall before moving. Poor posture at the start leads to poor form during the movement.
Lower With Control
- Begin by pushing hips back as if sitting into a chair behind you
- Keep your back straight (do not round your lower spine)
- Bend knees only after initiating the hip hinge
- Lower slowly (about 2 seconds down) until you reach a comfortable depth
- Keep knees aligned over toes (no inward collapse)
- Keep heels flat on the floor
It is okay for knees to extend slightly past toes if your hips allow it. The real danger is misalignment, not position.
Rise Strongly
- Push through your heels and midfoot to stand
- Exhale as you rise (about 2 seconds up)
- Fully extend hips and knees at the top (do not lock joints)
- Maintain upright posture throughout
As you tire, form breaks down. Stop if you start hunching, rushing, or losing balance.
Breathe and Repeat
- Inhale as you lower
- Exhale as you rise
- Start with 2 sets of 8–10 reps, resting 60–90 seconds between sets
- Perform 3 times per week on non-consecutive days
If you cannot reach 90 degrees, go only as low as possible without pain. Progress comes with time, not force.
Best Squat Variations by Fitness Level
Choose the right variation based on your current strength and balance.
Level 1: Mini Squat (Beginner)
Best for new exercisers, joint pain, or poor balance.
How to do it:
- Stand facing a chair, wall, or counter
- Feet shoulder-width apart
- Lower hips just a few inches, like starting to sit
- Keep chest up, knees behind toes
- Rise slowly with control
Start with hands on support. Gradually reduce hand use. Add light dumbbells (2–5 lbs) when ready. Advance to chair squat when you can do 20 reps with control and no pain.
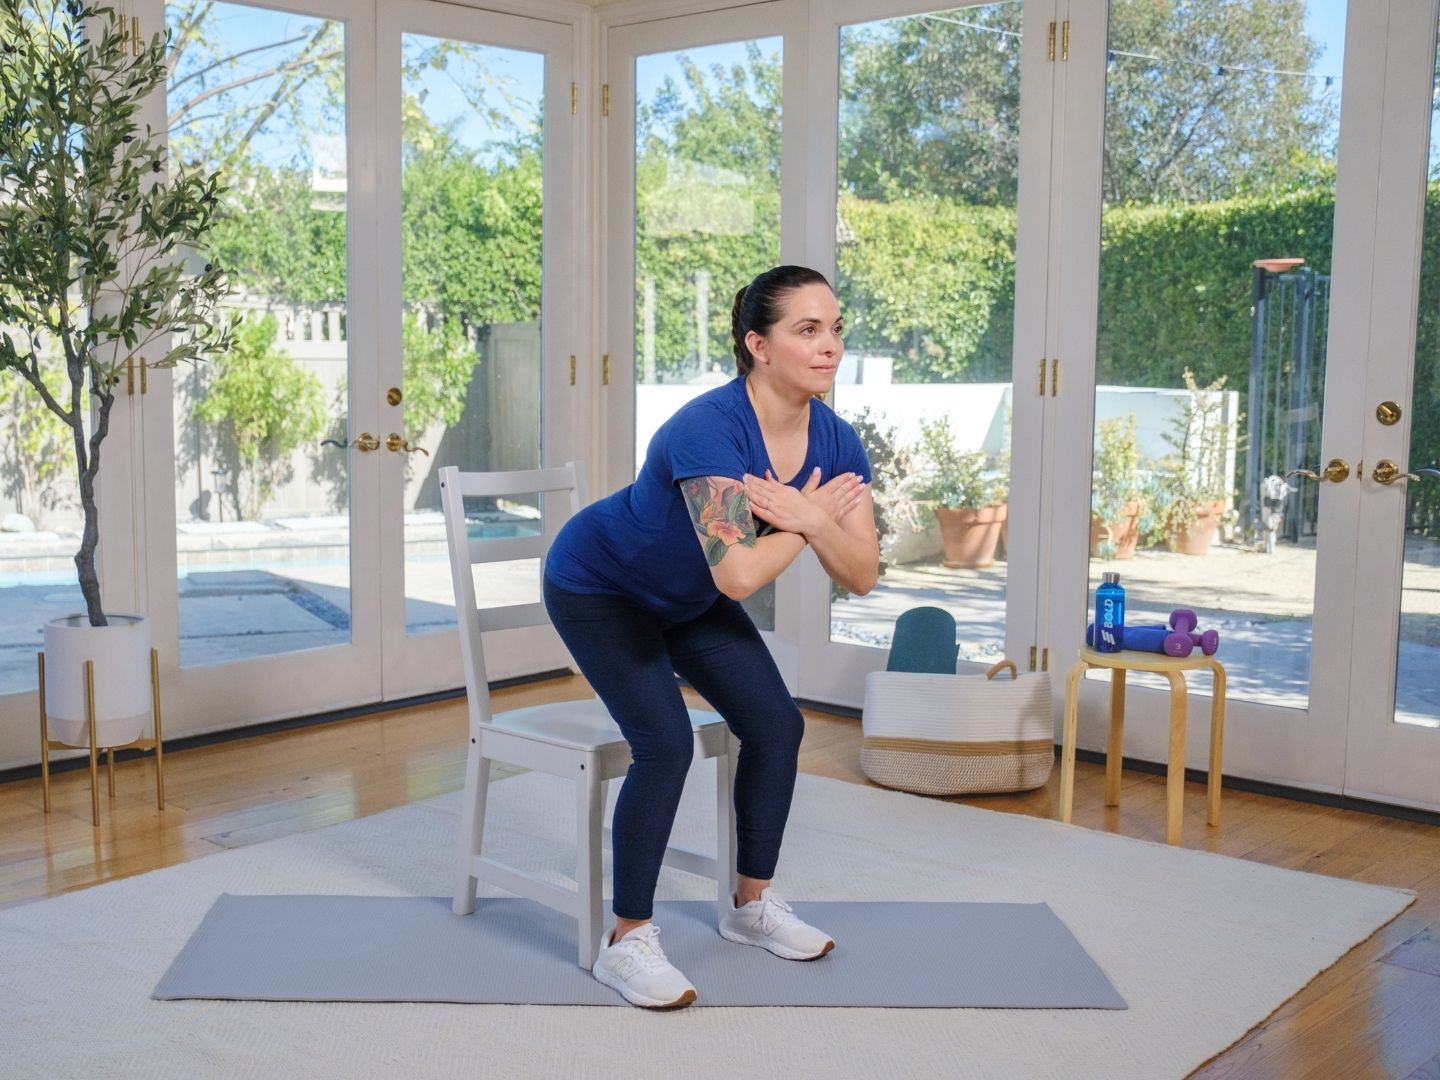
Level 2: Chair (Sit-to-Stand) Squat
Best for improving real-life function (rising from a chair).
How to do it:
- Stand in front of a sturdy chair (17–20 inches high)
- Feet shoulder-width apart
- Hinge hips back, lean torso slightly forward
- Lower until you lightly touch the seat (do not fully sit)
- Push through heels to stand
Start using both arms to push off thighs. Progress to one arm, then no arms. Move slowly (control beats speed). Advance to air squat when you can do 20 reps without support.
Level 3: Air (Free-Standing) Squat
Best for seniors with good balance and prior experience.
How to do it:
- Feet shoulder-width or slightly wider
- Core engaged, chest up, head neutral
- Push hips back, lower slowly
- Descend only as far as mobility allows (thighs parallel if possible)
- Drive through heels, squeeze glutes at the top
Practice in front of a mirror. Try the goblet squat (hold a dumbbell at chest level) to improve balance and add resistance.
Special Modifications for Safety and Success
Adapt squats to your needs with these smart modifications.
Supported Squat
- Use a countertop, sink, or sturdy chair
- Hold lightly with one or both hands
- Purpose: build confidence, improve control
- Progress: reduce hand pressure over time
Box Squat
- Use a low step, stool, or aerobic bench (6–12 inches)
- Lower until buttocks tap the surface, then stand
- Benefit: controls depth, prevents overexertion
- Ideal for fear of falling or inconsistent form
Assisted Squat
- Use a cane, walker, or doorframe
- Hold on with both hands, perform mini or full squats
- Progress: two hands to one hand to fingertips to no hands
Essential Equipment and Setup
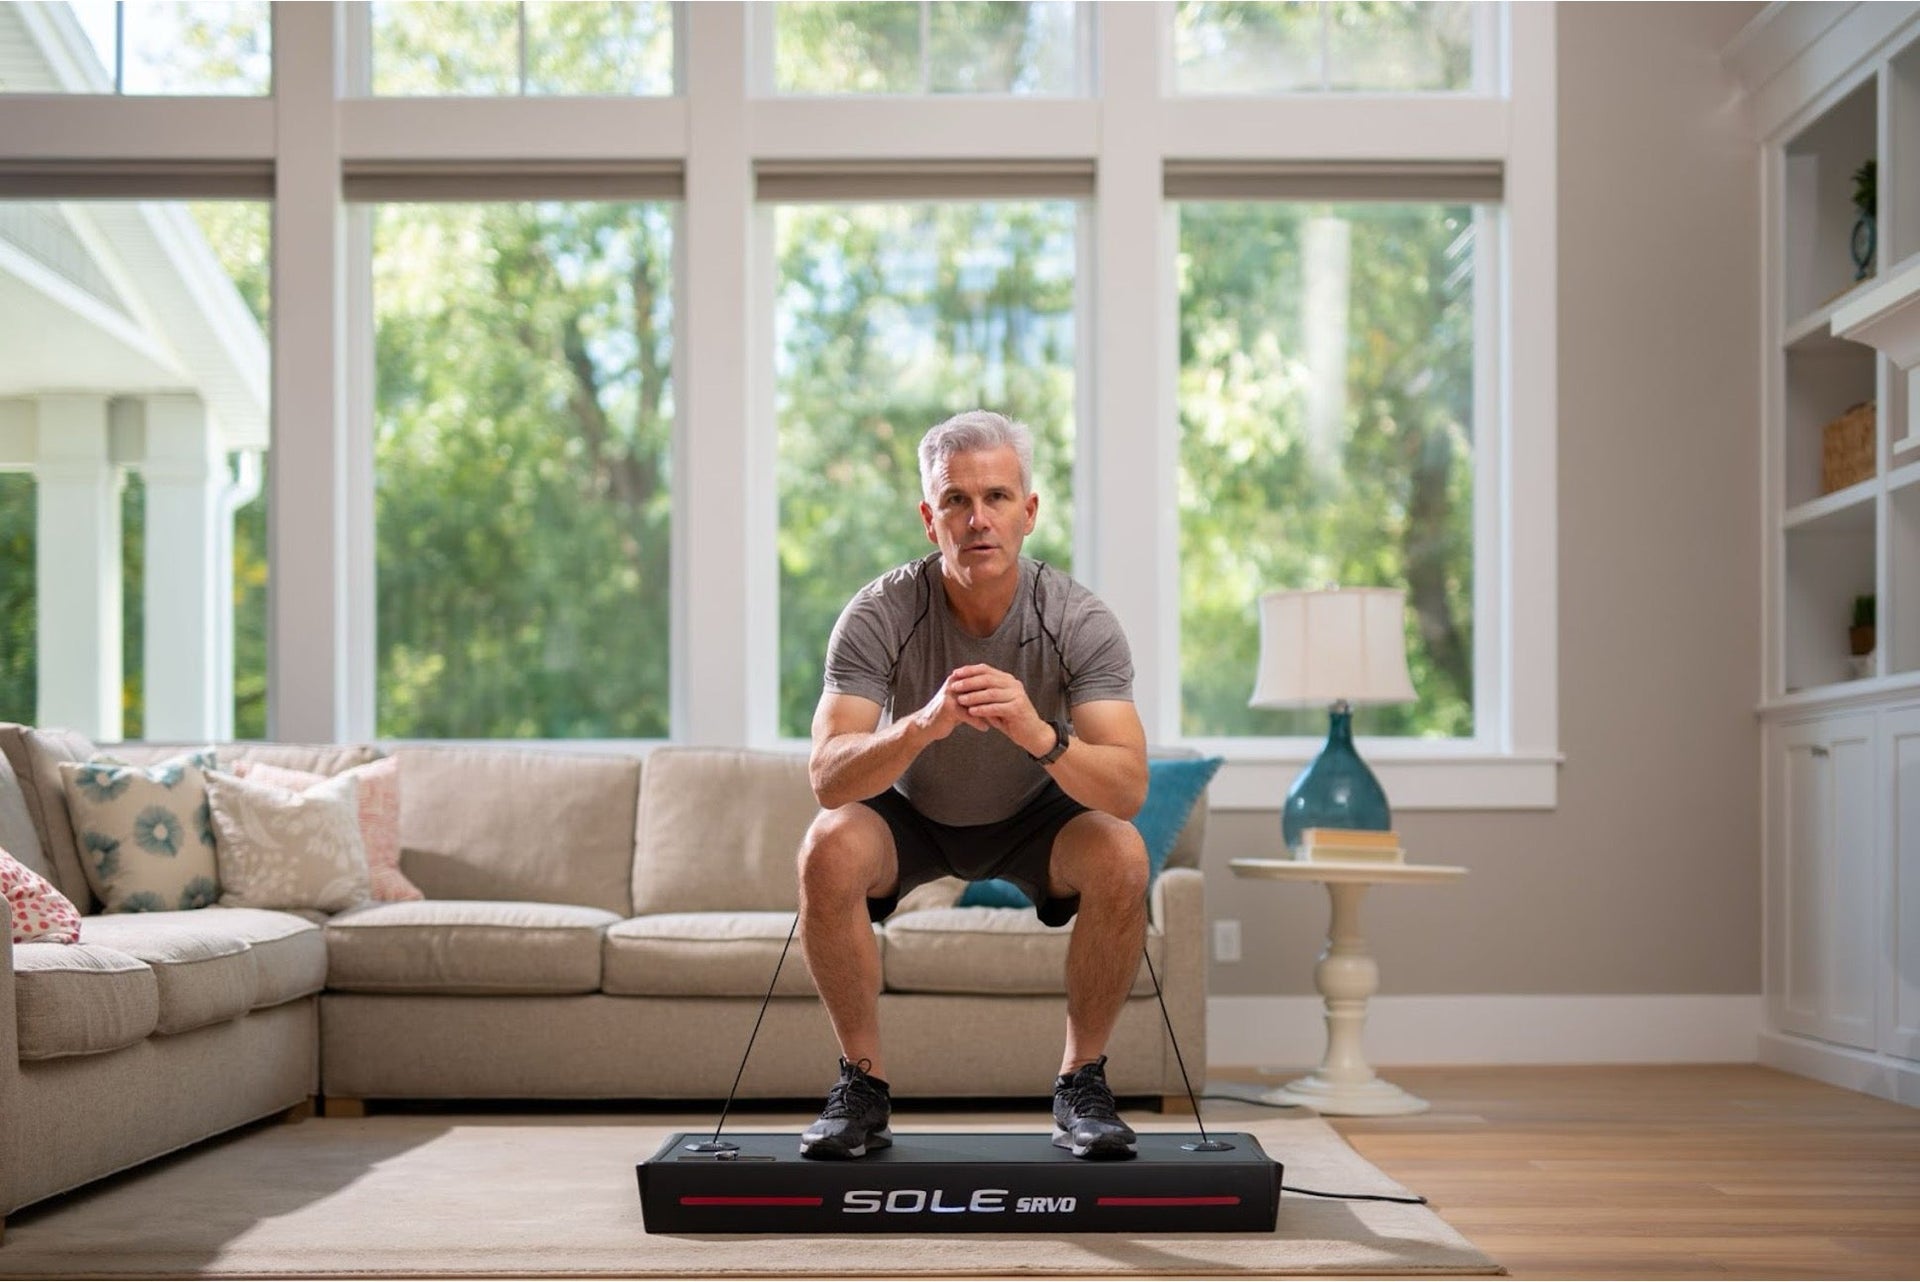
You do not need a gym. Just a few smart tools.
Must-have items:
- Chair: sturdy, armless, 17–20 inches high
- Footwear: non-slip athletic shoes (no socks or smooth soles)
- Support tools: cane, wall, or dowel rod for balance
- Resistance bands: for mobility drills and glute activation
- Weights (optional): dumbbells (1–10 lbs), water bottles, backpacks
Dowel Rod Alignment Drill
This reinforces proper spine alignment.
How to do it:
- Hold a broomstick or dowel behind your back
- Make three points of contact: head, mid-back, low back or pelvis
- Perform squats while maintaining all three contacts
- If contact is lost, reduce depth and correct posture
Focus on alignment first. Do not worry about depth yet.
Common Mistakes and How to Fix Them
Avoid these errors to stay safe and effective.
| Mistake | Risk | Fix |
|---|---|---|
| Leaning too far forward | Knee stress, poor glute use | Push hips back, keep chest up |
| Knees caving inward | ACL strain, joint wear | Push knees out over toes |
| Rounding lower back | Spinal compression | Maintain neutral spine, use dowel drill |
| Lifting heels | Loss of balance, forward shift | Keep full foot down, wear grippy shoes |
| Rushing reps | Reduced strength gain, fall risk | Use 2-second down, 2-second up |
Safety Guidelines Every Senior Should Know
- Stop immediately if you feel pain in knees, hips, or back
- Consult a doctor before starting if you have severe arthritis, joint replacements, chronic back pain, or balance issues
- Never force depth (shallow squats still build strength)
- Warm up first (5–10 minutes of walking or marching)
- Use support tools (they are not weakness, but wisdom)
Pre-squat warm-up routine:
- 5–10 min light cardio
- Ankle mobilizations
- Glute activations
- Hip flexor stretches
- 5–10 mini-squats
How Often to Squat for Long-Term Gains
- Frequency: 2–3 times per week on non-consecutive days
- Combine with other leg exercises: calf raises, seated leg lifts, heel-to-toe walks
- Track progress by increasing reps, reducing hand support, adding light resistance, or holding wall squats longer
Do mini-squats while waiting for the kettle or microwave. Turn idle time into strength time.
Frequently Asked Questions About Squats for Seniors
Is it safe for seniors to do squats every day?
No, squats should be performed 2–3 times per week on non-consecutive days. Muscles need recovery time to grow stronger. Daily squatting increases injury risk and prevents proper recovery.
Can seniors with knee arthritis still do squats?
Yes, but with modifications. Use a chair for support, keep the range of motion shallow, and focus on proper form. Stop immediately if you feel pain. Consult a physical therapist for personalized guidance.
What is the best chair height for chair squats?
A chair that is 17–20 inches high works best for most seniors. This is standard dining chair height. The chair should be sturdy with no wheels or arms that could slide.
How long does it take to see results from squatting?
Most seniors notice improved strength in 4–6 weeks with consistent practice. Better balance and easier daily movements (like standing up) often appear within the first month.
Do squats hurt the knees?
Squats do not hurt knees when performed correctly. The key is proper alignment (knees tracking over toes) and avoiding deep ranges that cause pain. Weak glutes and poor ankle mobility cause most knee discomfort.
Can I do squats if I have a hip replacement?
Yes, but you must get clearance from your surgeon or physical therapist. Avoid rotations and deep ranges. Use a chair or wall for support, and progress very slowly.
Key Takeaways for Safe Squatting
Squats are one of the most powerful exercises for seniors because they replicate real-life movements. Mastering proper technique matters more than depth. A shallow, controlled squat builds strength and confidence without strain.
Start with support (chair, wall, or cane) and focus on three key fundamentals. Keep your chest up, push your hips back first, and maintain knee alignment over your toes. Address mobility limitations in your ankles, hips, and glutes before attempting full squats.
Progress gradually from mini squats to chair squats to air squats. Only add resistance after you can perform 20 reps with perfect form. Use support tools liberally, warm up before every session, and stop immediately if you feel pain.
Practice consistently (2–3 times weekly) and track your progress. With more strength in your legs, hips, and back, better movement will help you live your best life.