Hiking poles can transform your walking experience if you’re a senior looking for more stability, less joint pain, and greater confidence on any terrain. Unlike canes or walkers that encourage leaning and shuffling, hiking poles promote upright posture, full-body movement, and a natural walking rhythm. They convert your two-point gait into a four-point gait, giving you support like never before. For seniors managing arthritis, balance issues, or recovering from joint surgery, these poles reduce knee strain by up to 27% and increase walking endurance. This guide shows you exactly how to choose, adjust, and use hiking poles safely and effectively.
Choose Senior-Friendly Hiking Poles

Selecting the right poles is the first step toward safer, more comfortable walks. The right choice depends on your grip strength, typical terrain, and personal preferences.
Pick Adjustable Poles with Lever Locks
Adjustable poles are the best choice for seniors because they adapt to your height, terrain, and fatigue level. Unlike fixed-length poles, they can be shortened for uphill climbs or lengthened for downhill descents. Look for models with lever-lock mechanisms, which are easier to operate than twist locks, especially if you have arthritis or weak grip strength. Twist locks often loosen during use and require dexterity to tighten. Lever locks snap securely with one hand and are simple to maintain. Avoid push-button systems if you have stiff fingers or cold-weather grip issues.
Select Lightweight Aluminum Poles
Weight matters when you’re using poles for 30 minutes or longer. Choose poles weighing 14 to 18 ounces each. Aluminum poles are ideal because they are durable, shock-absorbing, and affordable. While carbon fiber is lighter, it is more brittle and can snap under stress, making it less reliable for seniors who need dependable support. Aluminum flexes slightly on impact, reducing vibration to your wrists and joints, which is critical if you have osteoporosis or wrist sensitivity.
Use Foam or Cork Grips
Grip comfort is essential for long-term use. Foam grips are the top recommendation for most seniors. They are soft, lightweight, sweat-absorbent, and reasonably priced. They cushion your hands without adding bulk. Cork grips mold to your hand over time and stay cool in warm weather, but they are pricier and degrade faster in wet conditions. Rubber grips offer a firm hold in cold weather but are heavier and less breathable. Avoid hard plastic grips because they cause hand fatigue and offer poor shock absorption.
Install Interchangeable Tips and Baskets
Your poles should come with replaceable tips and accessory baskets. Metal carbide tips dig into dirt and rock for trail use, while rubber tips protect pavement and indoor floors. Carry both and swap them as needed. Add small mud baskets for soft ground and large snow baskets for deep snow. These prevent poles from sinking. Always use rubber tip protectors when storing poles to avoid damaging gear or floors.
Set the Correct Pole Length

Proper pole length is critical for comfort and effectiveness. Too long and you will hunch forward. Too short and your shoulders will strain. Getting this right makes all the difference in your walking experience.
Adjust for a 90-Degree Elbow Bend
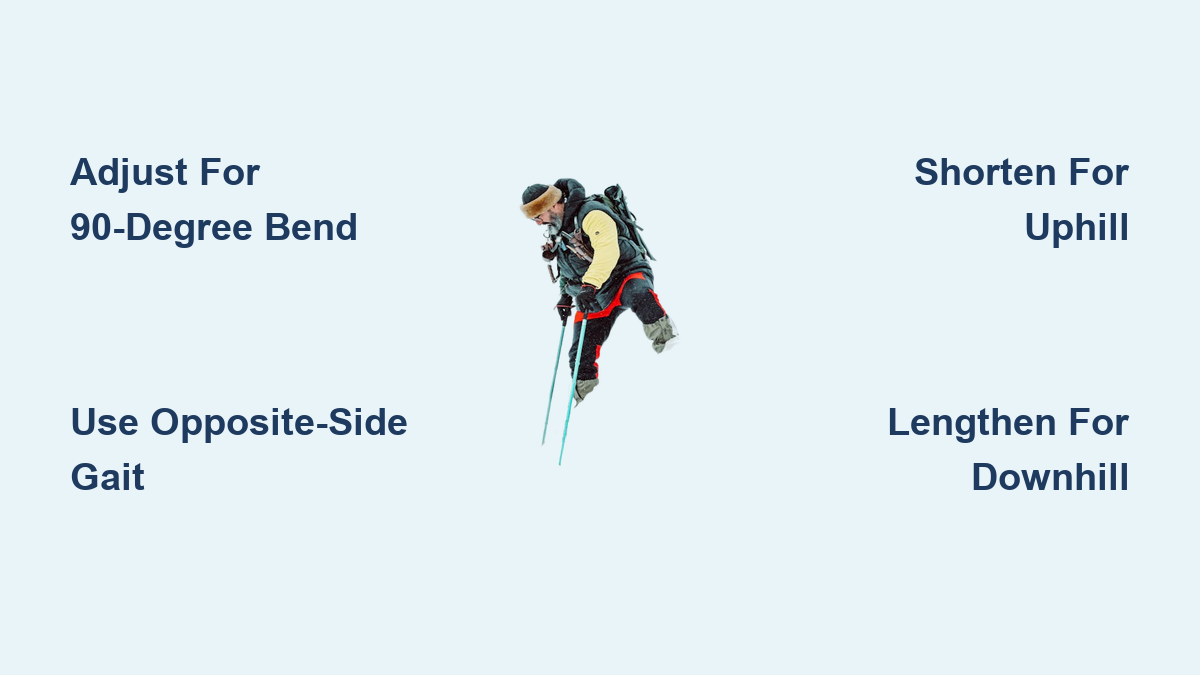
Stand in walking shoes with arms at your sides. Hold a pole vertically beside your leg. Adjust the length so that when you grip the handle, your elbow bends at 90 to 95 degrees and your forearm is parallel to the ground. This is your baseline for flat terrain. Check both poles because they must be the same height. Most seniors between 5’5″ and 5’8″ use 48 to 50 inch poles, but always confirm with the elbow test.
Shorten Poles for Uphill Climbs
When walking uphill, shorten each pole by 2 to 4 inches. This keeps your arms in a natural pushing position and prevents overreaching, which forces you to lean forward. Short poles help you push off powerfully from the trail, reducing strain on your quads and lower back.
Lengthen Poles for Downhill Descent
Going downhill? Lengthen poles by 2 to 4 inches. Longer poles act like arm brakes, absorbing impact and reducing knee compression. Plant them slightly behind you and push down to control your speed. This can reduce knee strain by nearly 30%, a major benefit for seniors with osteoarthritis or post-surgery recovery.
Adjust for Side Slopes
Walking across a hill? Lengthen the downhill pole and shorten the uphill pole. This keeps your body level and prevents leaning, improving balance on uneven ground.
Master the Proper Walking Technique
The key to effective pole use is learning the correct movement pattern. This technique differs from how you might use a cane, so pay attention to the details.
Use the Opposite-Side Gait Pattern
The fundamental technique is reciprocal movement. When your right leg steps forward, plant the left pole, and vice versa. This mimics natural arm swing and improves coordination. It is not same-side like a cane. This rhythm engages your core, back, and shoulders, turning walking into a full-body workout.
Plant Poles Behind, Not in Front
A common mistake is planting poles too far ahead. This acts as a brake and increases tripping risk. Instead, plant each pole slightly behind your body as your opposite foot lands. Then push down and back to propel yourself forward, like using a springboard. This boosts momentum and reduces leg fatigue.
Maintain Upright Posture
Keep your head up, shoulders relaxed, and back straight. Hiking poles should help you walk taller, not slouch. If your shoulders are hunched or elevated, your poles are too long. Proper technique strengthens core muscles over time and improves spinal alignment, which is especially helpful for seniors with spinal stenosis or posture decline.
Try the Double-Plant for Extra Stability
On steep or slippery terrain, use the double-plant technique for maximum support. Plant both poles simultaneously in front of you. Take two steps forward while poles are planted. Lift and replant both poles. This creates a stable tripod effect and is ideal for stream crossings, loose gravel, or icy patches.
Adapt Pole Use for Joint and Mobility Issues

Hiking poles can be modified to address specific physical limitations. These adaptations make them accessible for seniors with various mobility challenges.
Use One Pole for Knee or Hip Pain
If you have pain in one joint, use one pole in your opposite hand. If your right knee hurts, hold the pole in your left hand. Swing the pole forward with your left arm as your right leg steps forward. Plant it just ahead of your right foot and push down as you transfer weight. This reduces joint load by up to 25%, making walking less painful. While it does not provide full cardiovascular benefits, it is excellent for joint relief.
Modify for Arthritis or Weak Hands
Seniors with hand or wrist arthritis should choose poles with larger, ergonomic grips. Foam or cork materials work best. Wear padded gloves to reduce pressure. Use lever locks because they require less grip strength. Consider avoiding wrist straps if you have poor hand control or high fall risk. Straps can trap your hand during a fall, leading to wrist injury. Instead, hold poles loosely and set them down when resting.
Practice Indoors Before Going Outdoors
If balance is a concern, start with rubber-tipped poles on a flat indoor surface. Practice the opposite-side gait in a hallway or living room. Focus on rhythm and posture. This builds confidence and muscle memory before tackling trails or curbs.
Navigate Obstacles Safely
Knowing how to handle different terrain types keeps you safe and confident on every outing.
Cross Streams and Puddles with Confidence
For stream crossings, lengthen your poles for deeper stability. Plant each pole firmly on the streambed before stepping. Test the bottom with your pole first because mud or slippery rocks can be hidden. For small puddles, use a pole vault. Plant both poles and gently hop over, using poles for balance.
Climb Over Rocks and Logs
To step over a large rock, plant both poles in front and slightly to the sides. Push down to lift your body up. Step over carefully. To cross a log, plant poles behind the log for stability as you step up. Extend arms out to the sides like a tightrope walker for balance while walking across.
Avoid Common Mistakes
Knowing what not to do is just as important as knowing the correct technique. These errors can undermine the benefits of hiking poles.
Do Not Plant Poles Too Far Forward
Planting poles ahead of your body disrupts gait, reduces propulsion, and increases tripping risk. Always plant them slightly behind and push off.
Do Not Use Same-Side Movement
Swinging the pole on the same side as your leg breaks natural rhythm and reduces stability. Stick to opposite-side gait for best results.
Do Not Over-Grip the Handles
Gripping too tightly causes hand fatigue and cramping. Use the wrist straps correctly. Insert your hand up through the bottom, then grip the handle from above. The strap supports your wrist so you can relax your fingers between steps.
Do Not Ignore Tip Maintenance
Worn or mismatched tips reduce safety. Replace metal tips when dull. Use rubber tips on pavement, carbide tips on trails, and baskets in snow. Always carry spare tips and protectors.
Know When to Use Poles vs. Other Aids
Understanding the differences between mobility aids helps you choose the right tool for your situation.
Hiking Poles vs. Canes
A single cane offers three points of contact but encourages leaning and shortens your stride on the unsupported side. Hiking poles provide four points of contact, promote upright posture, and allow a longer, more natural stride. They are ideal if you need more support than a cane but do not want the bulk of a walker.
Hiking Poles vs. Walkers
Wheeled walkers offer maximum stability but require a forward lean, slow you down, and carry a strong medical stigma. Hiking poles let you walk faster, stand taller, and feel more independent. They are best for seniors with mild to moderate balance issues who want to stay active and mobile.
Start Safely and Build Confidence
Beginning correctly sets you up for success. Take these steps before heading out on longer walks.
Consult Your Doctor First
Talk to your healthcare provider before starting pole walking if you have severe osteoporosis, recent fractures, neurological conditions like Parkinson, or significant balance disorders. Poles are safe for most seniors, but personalized advice is key.
Begin with Short, Flat Walks
Start with 10 to 15 minute walks on flat, even ground. Focus on technique. Rhythm, posture, and pole placement matter most. Gradually increase time and terrain difficulty. Many users report mild arm soreness at first, which means your upper body is engaging, a good sign.
Learn from Experts
Watch instructional videos by physical therapists like Bob and Brad on YouTube. Their tutorials break down proper technique with clear visuals. Or take a short lesson from an outdoor guide or physical therapist. Some REI stores offer free clinics.
Rent Before You Buy
Many outdoor retailers offer trekking pole rentals. Test different models to find what feels best. Look for lightweight, adjustable poles with foam grips and lever locks.
Maintain Your Poles
Proper care extends the life of your poles and ensures safe operation every time you use them.
Clean After Every Use
Wipe down shafts and remove dirt from locks. Clean wrist straps and let them dry completely to prevent mold. Dirt in lever locks can cause slipping. Clean with a dry cloth monthly.
Store Retracted and Dry
Always collapse adjustable poles before storage to prevent lock damage. Keep them in a cool, dry place away from moisture.
Protect Tips in Transit
Use rubber tip protectors when packing poles in a bag or carry-on. This prevents damage to luggage, floors, or other gear.
Frequently Asked Questions About Hiking Poles for Seniors
Can seniors use hiking poles safely?
Yes, hiking poles are safe for most seniors when used correctly. They provide four points of contact, significantly improving stability compared to walking without support. However, consult your doctor first if you have severe osteoporosis, recent fractures, neurological conditions, or significant balance disorders.
How do I know if my hiking poles are the right length?
Stand in your walking shoes with arms at your sides. Hold a pole vertically beside your leg. Adjust until your elbow bends at 90 to 95 degrees when gripping the handle. Your forearm should be parallel to the ground. Both poles must be set to the same length.
Should I use one pole or two poles?
Use two poles for maximum stability and cardiovascular benefits. Use one pole if you have pain in one knee or hip. Hold the pole in the hand opposite the affected joint. For example, use your left hand if your right knee hurts.
Can hiking poles help with knee pain?
Yes, hiking poles can reduce knee strain by up to 27% on downhill slopes. They transfer up to 25% of your body weight through your arms and upper body, significantly reducing stress on your knees, hips, and ankles.
What is the correct walking pattern with hiking poles?
Use the opposite-side gait pattern. When your right leg steps forward, plant the left pole, and vice versa. This creates natural rhythm and engages your core, back, and shoulders for a full-body workout.
Key Takeaways for Using Hiking Poles as a Senior
Hiking poles are powerful mobility tools that can transform your walking experience. The most important factors are choosing the right equipment with lever locks and foam grips, setting the correct length so your elbow bends at 90 degrees, and mastering the opposite-side gait pattern. Remember to adjust pole length for terrain, shortening for uphill and lengthening for downhill. Practice indoors first if you have balance concerns, and always consult your doctor before starting if you have specific medical conditions. With proper technique, hiking poles reduce joint strain, improve balance, and help you walk farther with greater confidence.