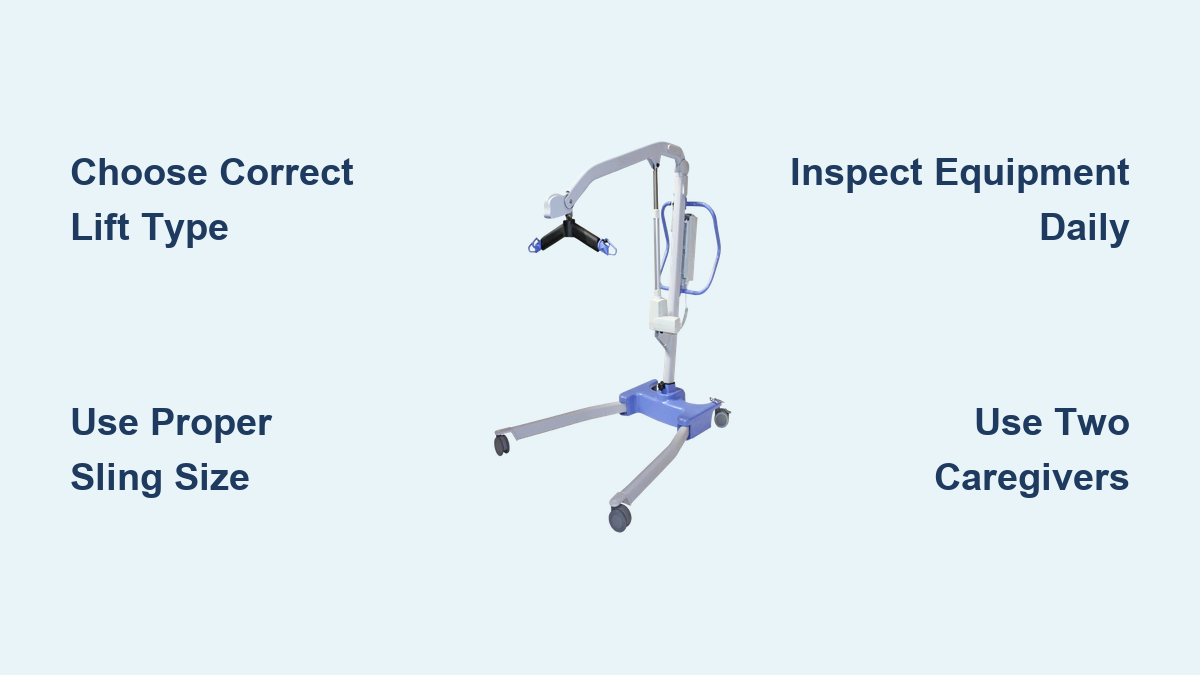
Transferring elderly individuals with limited mobility can be physically demanding and risky without the right tools. A patient lift, commonly called a Hoyer lift, enables safe movement between beds, wheelchairs, toilets, and floors. Knowing how to use a lift for elderly loved ones is essential for preventing falls, protecting caregiver health, and preserving dignity during daily care routines.
Millions of caregivers face back strain, injury, or accidents each year due to improper lifting techniques. Using a mechanical lift dramatically reduces these risks. This guide walks you through every step, from choosing the right lift type to executing transfers with confidence.
Choose the Right Type of Lift
Assess Mobility Level First
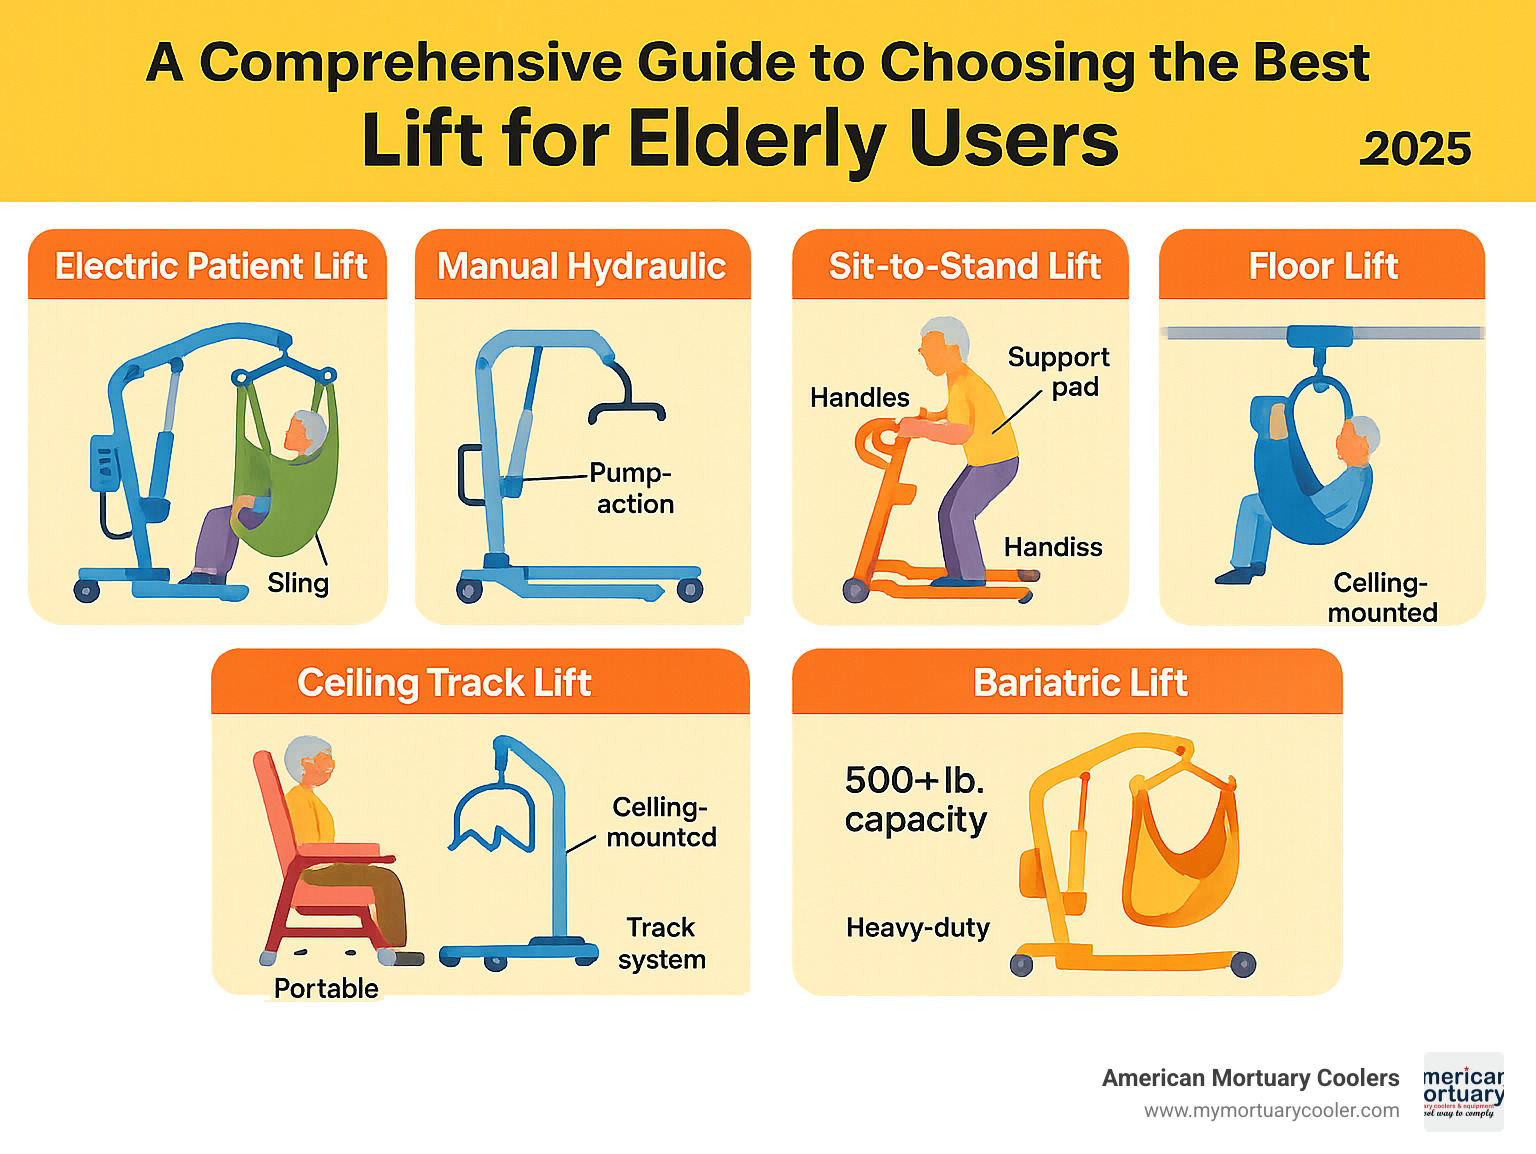
Before purchasing or using a lift, determine the elderly person’s ability to bear weight. This decision shapes which lift type is safest and most effective.
• Can stand with minimal help? Use a sit-to-stand lift.
• Cannot bear weight or stand? Use a floor-based or ceiling sling lift.
• Frequent transfers across rooms? Consider an overhead ceiling system.
Using the wrong lift can result in instability, discomfort, or falls.
Compare Lift Options by Need
| Lift Type | Best For | Effort Required | Ideal Setting |
|---|---|---|---|
| Sit-to-Stand | Partial weight-bearing, rehab | Low to moderate | Home, therapy centers |
| Floor Sling (Hoyer) | Non-ambulatory, full support | Moderate (manual), low (electric) | Bedroom, bathroom |
| Ceiling Sling | Daily transfers, small spaces | Very low | Permanent home setup |
| Portable Lift | Temporary use, travel | Moderate | Post-op recovery, rentals |
Match Lift to Living Environment
Measure doorways (typically 30-36 inches) and room layout before buying. Some lifts have wide bases that will not fit through narrow hallways. If carpeting is present, choose models with large, durable wheels to reduce resistance.
For long-term care, invest in a ceiling lift if structural modifications are possible. For short-term recovery, a portable or manual Hoyer lift offers flexibility and lower cost.
Select the Correct Sling for Safety

Know the Sling Types and Uses
The sling is the only point of contact between the lift and the person. Choosing the wrong one compromises safety and comfort.
| Sling Type | Purpose | Key Features |
|---|---|---|
| Universal (U-Sling) | General transfers | Full-body support, easy to use |
| Commode-hole | Toileting | Open pelvic area, fits over commode |
| Leg-wrap | Hip stability | Loops around thighs, prevents slipping |
| Bathing | Shower use | Waterproof material, quick-dry fabric |
| Head-support | Poor head control | Neck and head cradle, ideal for neurological conditions |
| Padded | Sensitive skin | Extra cushioning, prevents pressure sores |
Always use a commode-hole sling when transferring to a toilet or commode chair. It allows hygiene access without removing the sling.
Size and Inspect Slings Regularly
• Check weight limits. Never exceed the manufacturer’s rating.
• Measure hip width and torso length for proper fit.
• Follow color-coded loops when attaching to the lift (blue to blue, etc.).
• Replace slings every 6-12 months, or immediately if frayed, torn, or stained.
Never use a damaged sling. Even small tears can expand under load and cause failure.
Ensure Compatibility with Your Lift
Not all slings work with every lift. Verify hook configuration (S-hooks, spreader bar size), loop placement and color coding, and manufacturer recommendations. Using incompatible slings may void warranties and increase fall risk.
Prepare the Environment and Equipment
Clear the Transfer Path
Remove tripping hazards including rugs, cords, and furniture. Ensure wet or slippery surfaces are addressed. Ensure lighting is bright enough to see alignment points clearly. Install motion-sensor nightlights if transfers occur at night.
Position the Bed and Wheelchair
• Raise the bed to caregiver waist height to prevent back strain.
• Keep side rails up during preparation to avoid rolling.
• Lock wheelchair wheels and remove footrests.
• Place the wheelchair at the foot or side of the bed, depending on transfer direction.
Align the destination surface so the person will land centered on the seat.
Inspect the Lift Before Use
Check for cracks or bends in the frame, smooth wheel rotation and secure locks, hydraulic fluid level (manual lifts), battery charge (electric lifts), and spreader bar and hook condition. If any component appears damaged, do not use the lift. Contact the supplier for repair or replacement.
Position the Sling and Set Up the Lift
Roll Patient Onto Their Side
With clean hands and gloves if needed, gently roll the person onto their side, facing away from you. Use pillows for support if necessary. Create space to slide the sling under the back. Keep movements slow and communicate clearly.
Insert and Center the Sling
• Place the sling so the bottom edge aligns with the buttocks.
• Top should reach at least mid-back. Full-body slings may not reach shoulders when lying flat.
• Smooth out wrinkles by gently rolling the person side-to-side.
• Avoid pulling or tugging fabric, which can cause skin tears.
For bathing slings, ensure drainage holes are unobstructed.
Attach Leg Straps Correctly
• Lift one leg and slide the strap under the thigh. Repeat for the other leg.
• Cross the leg straps (one through the other) before hooking. This prevents slippage.
• Double-check that arms are clear and no skin is pinched in the fabric.
Open the Base and Position the Lift
Spread the lift’s legs into a wide semicircle for maximum stability. A narrow stance increases tipping risk. Lock all wheels before proceeding.
Lower the boom arm. For manual lifts, use the control lever or pump handle to lower the boom. For electric lifts, press down until the spreader bar is within reach. Adjust lift height so the boom clears the patient without bumping the bed.
Attach the Sling and Perform the Transfer
Match Color-Coded Loops
Most slings use color-coded loops (red, blue, yellow). Hook each loop to the corresponding lift arm. This ensures even weight distribution and prevents imbalance.
Confirm Secure Attachment
Pull gently on each hook to verify hooks are fully closed, no fabric is caught in the latch, and spreader bar hangs level. Uneven attachment can cause the person to tilt or slip during the lift.
For electric lifts, confirm the battery is charged and indicator lights are normal.
Lift Slowly and Pause
• Manual: Pump the handle steadily until buttocks clear the surface.
• Electric: Press up button in short bursts.
After lifting about 2 inches, stop and check if the person is balanced, if they are comfortable, and if the sling is evenly supporting the body. Only continue if everything looks correct.
Move the Lift with Control
Use push handles to pull the unit backward. Never push from the front. Turn the entire lift so the person faces the destination. For small adjustments, guide with your foot. Avoid twisting the torso while moving.
Position the person directly over the wheelchair or bed. Ensure hips are centered on the seat. Expand the lift base to its widest setting if transferring over a new surface.
Lower Into Place and Remove the Sling
Descend Gradually
• Manual: Slowly open the release valve to lower.
• Electric: Press down in short pulses.
Do not let gravity control the descent. A sudden drop can cause injury.
Guide into Proper Seating
As lowering begins, gently push back on the knees to guide hips toward the rear of the seat. Prevent forward slumping. Ensure full contact with the seat before releasing the lift.
Final Safety Checks
• Fasten wheelchair seatbelt.
• Adjust posture for comfort.
• Reassure the person with calming words.
Never allow the spreader bar to touch the person during lowering.
Unhook and Extract Carefully
• Unhook all lift arms.
• Pull leg straps out from under thighs.
• Lean the person slightly forward to remove the sling from under the back.
Avoid dragging the fabric across sensitive skin.
Clean and Store Properly
Wipe down the lift with mild disinfectant. Collapse the base and lower the boom. Store in a dry, accessible location. Charge electric lifts after each use. Wash slings per care instructions. Keep a log of usage and inspections.
Use Two Caregivers When Possible
Why Two People Are Safer
Even if a lift is designed for one operator, two caregivers reduce risk significantly. One manages the lift controls while the other supports the head, monitors limbs, and reassures the person.
This is especially important for frail or unsteady individuals, those with dementia or fear of heights, heavy patients, or complex transfers.
Always have at least two people present during transfers.
Divide Responsibilities Clearly
Caregiver one (operator) controls lift movement and maintains visual on alignment. Caregiver two (support) provides head and neck support, checks for pinched fingers or limbs, and communicates with the person. Coordination prevents missteps and ensures smooth execution.
Maintain the Lift Regularly
Conduct Weekly Inspections
Check wheels and locks (roll smoothly, lock securely), hydraulic system (manual: no leaks, proper fluid level), battery and motor (electric: charges fully, operates without stuttering), frame and welds (no cracks or corrosion), and sling condition (no fraying, broken stitching, or stains). Replace worn parts immediately.
Follow Manufacturer Maintenance Schedule
Lubricate moving joints quarterly. Clean control panels with damp cloth. Keep user manual and warranty info on file. Most lifts last 5-10 years with proper care.
Get Trained by a Professional
Seek Hands-On Instruction
Many families receive a lift with little or no training. This increases accident risk. Free or low-cost training is often available from occupational therapists (OTs) or physical therapists (PTs), home care agencies, and medical equipment suppliers.
They will assess the person’s needs, recommend equipment, and demonstrate safe techniques.
Practice Dry Runs
Before using the lift with the person, assemble and operate the device empty. Simulate sling placement using a dummy or pillow. Time the transfer and refine movements. This builds confidence and reduces anxiety.
Use online resources wisely. Reputable sources include FDA safety videos, manufacturer tutorials, and caregiver courses. Avoid unverified guides. Incorrect techniques can be dangerous.
Understand Insurance and Costs
Does Medicare Cover Lifts?
Yes, but with conditions. Covered items include manual (hydraulic) Hoyer lifts if prescribed by a doctor and deemed medically necessary. Not covered items include electric lifts and ceiling lifts (usually). Some Medicare Advantage plans offer broader coverage.
You must get the lift from a Medicare-enrolled supplier.
What Are the Out-of-Pocket Costs?
• Medicare pays 80% of approved amount.
• You pay 20% coinsurance plus Part B deductible.
• After 13 months of rental, ownership transfers to you.
Explore Alternatives
Private insurance may cover with pre-authorization. Refurbished lifts save 30-50% versus new. Rentals allow trying before buying. Nonprofits and VA benefits offer financial help for veterans and low-income seniors.
Prevent Falls Before They Happen
Modify the Home Proactively
Using a lift often follows a fall. Reduce risk with non-slip mats in bathroom and kitchen, handrails next to toilet and shower, improved lighting especially nightlights, and removing loose rugs and cords.
Install lift chairs for easier sitting and standing. Note that lift chairs assist mild weakness but do not replace Hoyer lifts for non-ambulatory users.
Encourage Mobility When Possible
For those with partial strength, use sit-to-stand lifts for exercise (leg reps). Incorporate supervised standing routines. Promote walking with rollator walkers. These activities help maintain muscle and delay deconditioning.
Key Takeaways for Safe Elderly Lift Transfers
Using a lift correctly transforms a high-risk task into a safe, repeatable routine. Always explain each step to the person being transferred, especially for dementia patients. Speak calmly and reassuringly. Never rush. Slow, deliberate movements prevent injury.
Prioritize comfort by adjusting slings, padding, and timing. Replace worn slings promptly. Re-train annually because skills fade over time.
With the right equipment, training, and attention to detail, you protect both the elderly person and yourself while supporting independence and dignity in daily life.
Frequently Asked Questions About Using Lifts for Elderly
Can one person operate a Hoyer lift alone?
Technically yes, but it is strongly discouraged. FDA and nursing experts emphasize that two or more people should always be present during transfers. Risks of solo operation include loss of balance, patient falling, and caregiver back injury. Highly trained caregivers with lightweight patients and power lifts may manage solo, but caution is paramount.
Can a Hoyer lift be used on carpet?
Yes, but with limitations. Thick or plush carpets increase friction and reduce wheel mobility. Use lifts with wider, durable wheels for better performance. For optimal function, operate on hard flooring like tile, hardwood, or laminate.
How do you transfer from bed to chair using a Hoyer lift?
Place the sling under the patient while lying in bed. Connect sling to the lift hooks. Slowly lift the patient until fully suspended. Wheel the lift to the chair, aligning the person’s hips with the seat. Lower slowly into the chair. Detach the sling once the person is stable.
What is the difference between a Hoyer lift and a patient lift?
Hoyer lift refers to a specific type of mobile, floor-based patient lift (often a brand name used generically). Patient lift is a broad category that includes Hoyer lifts, ceiling lifts, sit-to-stand lifts, and portable lifts. All Hoyer lifts are patient lifts, but not all patient lifts are Hoyer lifts.
How often should lift slings be replaced?
Replace slings every 6-12 months with regular use, or immediately if frayed, torn, or stained. Even small tears can expand under load and cause failure. Always inspect slings before each use.
Does Medicare cover electric patient lifts?
Original Medicare typically does not cover electric lifts or ceiling lifts. Only manual (hydraulic) Hoyer lifts are usually covered when prescribed by a doctor and deemed medically necessary. Some Medicare Advantage plans may offer broader coverage for electric models.